Part 1 | The wounds no one sees. Hitting rock bottom.


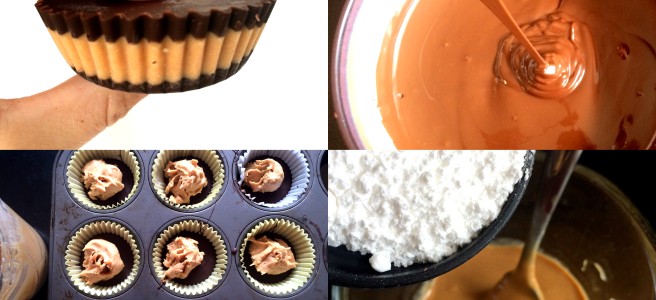
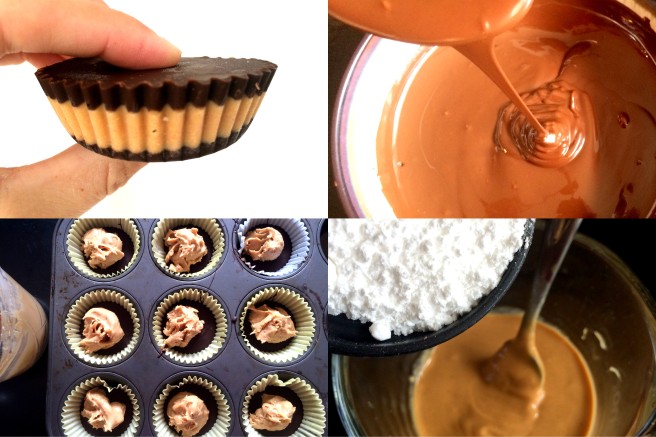
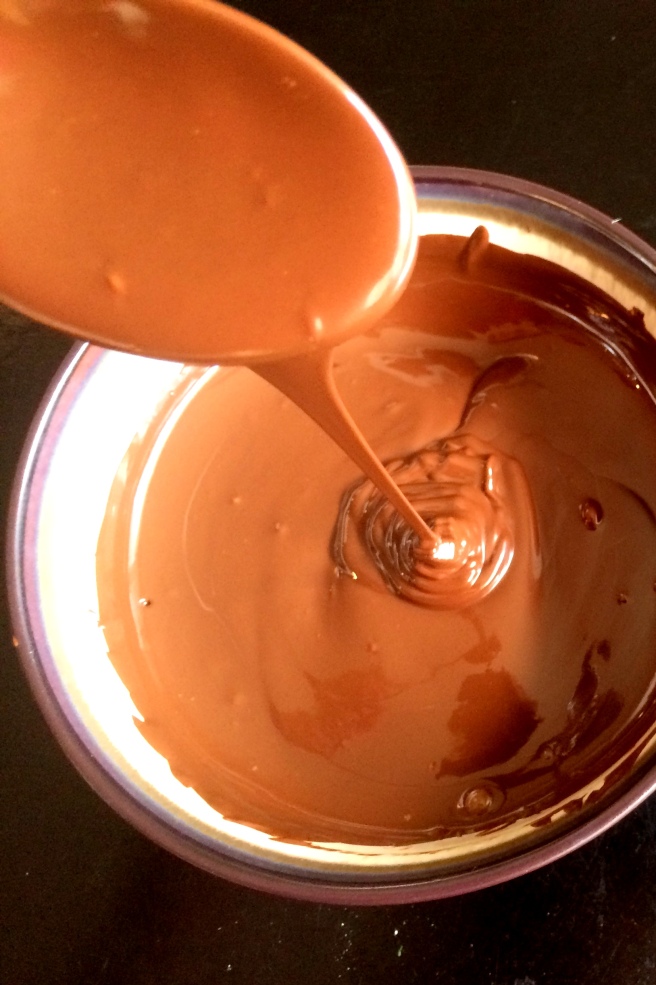
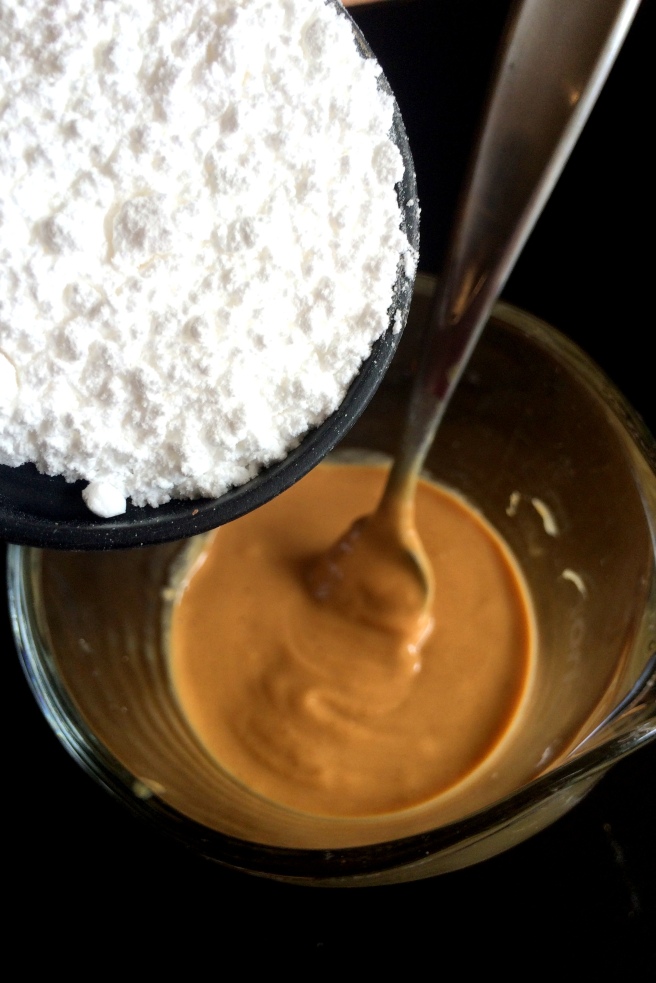
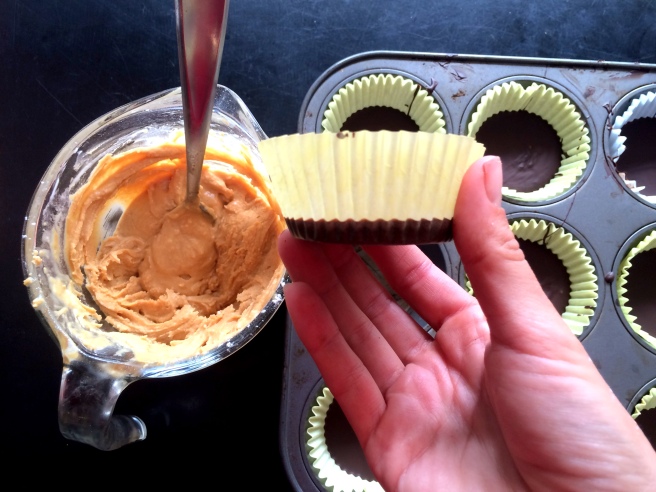
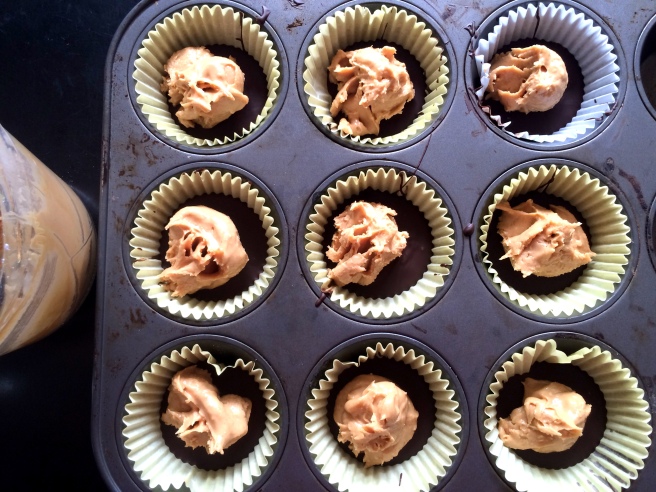
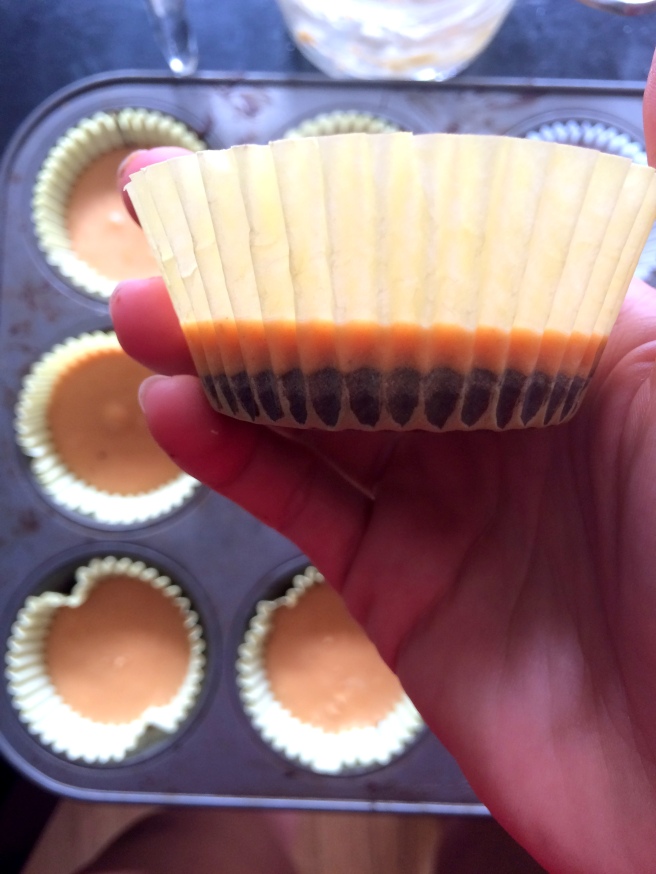
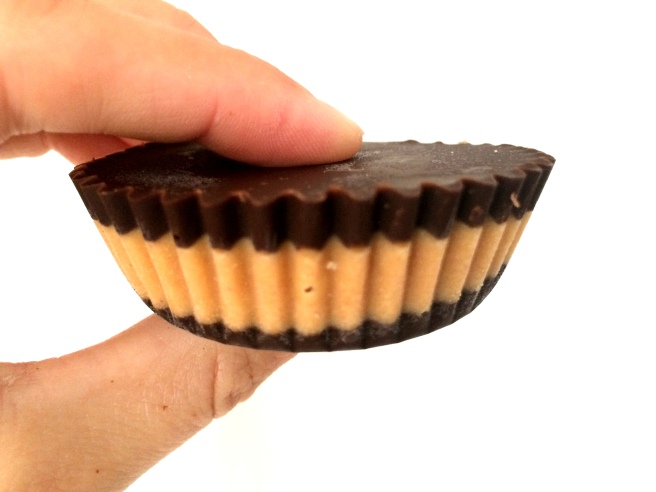
Say NO to Reese’s Peanut Butter Cups and say YES to making your own just the way you like. Why? Because they taste fresh, you can use your favorite chocolate, your favorite nut butter, you can decide how sweet you want them & you can use a touch of coconut oil instead of butter! ♥
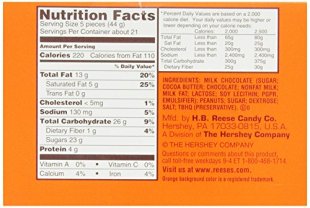
Reese’s Peanut Butter Cups Ingredients: GROSS
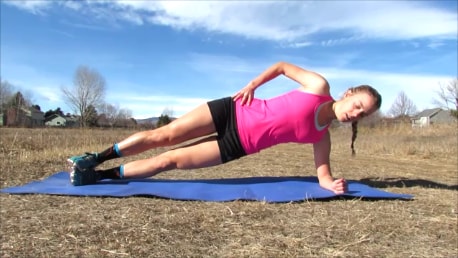
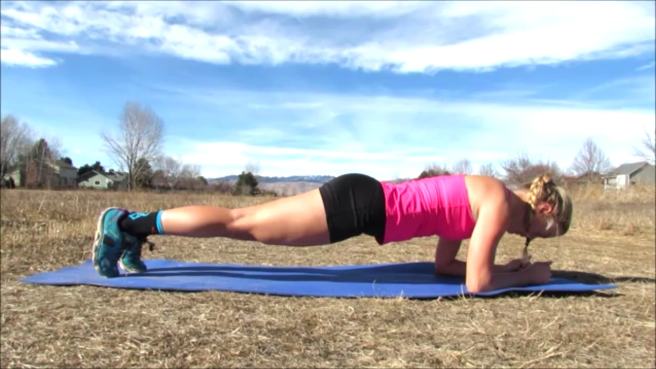
Carve out 10 minutes TODAY and start gaining the strength you’ve always wanted!


Dedicated to the many cyclists who have been killed in Boulder these last couple of months who can never share their road to getting back in the saddle.

You’re spinning out the legs for your race the next day. You’ve done a few efforts but are about to start some one minute efforts in zone 4. You’re in your happy place. The bike is where you feel at peace. It’s the one place you feel safe and at peace with yourself. It’s the place where you work out all of your problems. It’s the place you celebrate the victories of life. Yeah, some days you get a flat or have tired legs. Some days you get rained on or you develop a saddle sore.
But being in the saddle is who you are. It defines you. It makes you a better person. You ride your bike because you love it in a way that you could never love anything else.
Now you hear distant voices.


e, 
Recovery is equally important as training (to those who know me, I’ve been learning that the hard way for a while now). Recovery takes on many forms and one of the most important aspects of recovery is WHAT YOU EAT.
I’m headed to North Star Grand Prix (NSGP) this week, so why not share one of my favorite ways to recover!
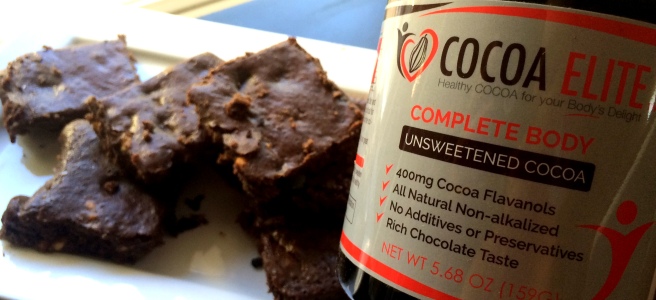
North Star is on the Pro Race Tour Calendar and is a SIX stage race over five days. When racing multiple days in row, it’s crucial that you refuel and be ready for your next race. I like to recover with COCOA ELITE black bean brownies. Check out the recipe below!
Use discount code “QCW-1115” to order your COCOA ELITE products.
![IMG_5525[1]](https://growfuelperform.files.wordpress.com/2016/06/img_55251.jpg?w=320&h=569)
1 can black beans rinsed
3 eggs
3 tablespoons of unsweetened applesauce
1/2 cup COCOA ELITE cocoa
1/3 brown sugar ( add to taste)
1/2 tsp baking powder
1 tsp vanilla
Peanut butter to your liking ( or try almond, sunflower, cashew etc.)
Dark chocolate chips
2. Throw everything but the peanut butter and chocolate chips in the food processor. (If you don’t have a large one then do the beans separately and then add to the other the ingredients)
3. Stir in peanut butter ( maybe a half of a cup) . I prefer the crunchy all natural kind. Then stir in a bunch of dark chocolate chips.
** You might want to add some more sugar. It really depends on how bitter the chocolate chips are and if the peanut butter has added sugar. This recipe is very flexible 🙂
I pour the mix into an 8×8 pan lined with parchment paper. I still spray or oil the paper. Cook at 350 degrees for about 12-18 minutes. ( cooking time will vary so keep an eye on them)
Take them out while they are fudgey still. Let them cool in the fridge COMPLETELY before cutting them. They are best when they are cold as they hold their form better.
![IMG_5470[1]](https://growfuelperform.files.wordpress.com/2016/06/img_54701.jpg?w=335&resize=335%2C447&h=447#038;h=447 "IMG_5470[1]")


Why COCOA ELITE??
Current research is finding that the cocoa flavanols might even be contributing to athletic performance by increasing endurance and improvements in recovery.
Why not other cocoa?
Check out the website to learn more about why there is a significant reduction in flavanol content in other brands. /www.cocoaelite.com/
Thanks to COCOA ELITE for sponsoring QCW Women’s Domestic Elite Cycling Team!

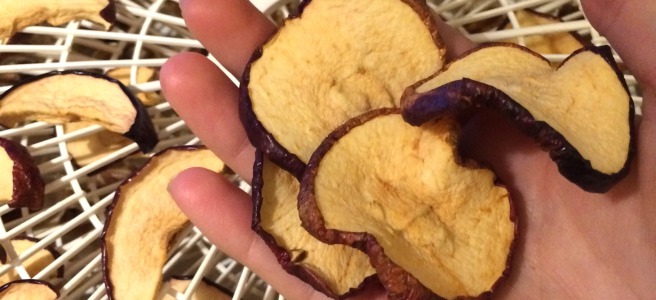

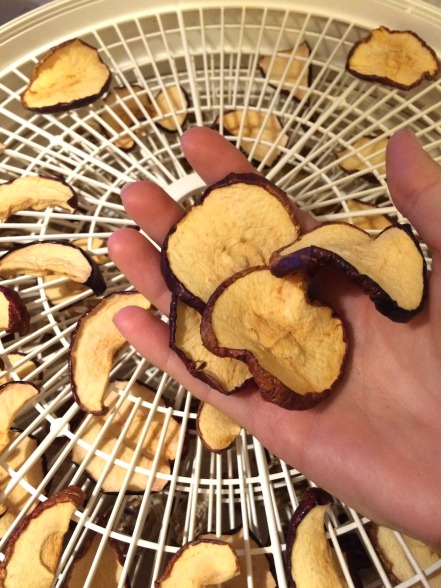
I crave crunchy things. Sometimes I want to eat a whole bag of chips and sometimes I sort of do. People will suggest eating carrots because they are crunchy. Um no. I love carrots but carrots are not chips and there’s way I can convince myself they are.
Best alternative: make your own chips. Apple and bananas make for excellent chips that are healthy, sweet and crunchy. Using a dehydrator you can make them yourself and you’ll save a lot of money.
")
")
")
How?
Optional: spray a bit a lemon juice to prevent browning. I don’t mind the browning of the bananas though.
** It depends on how crunchy you like them
** It also depends on how thin\thick you slice them
Enjoy within the week. They aren’t filled with preservatives so they won’t last forever 😉
You can also dehydrate tomatoes, mangoes, pineapples, carrots and potatoes!
Questions? Just ask!

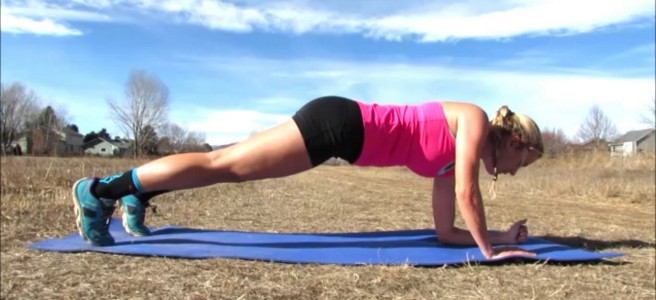
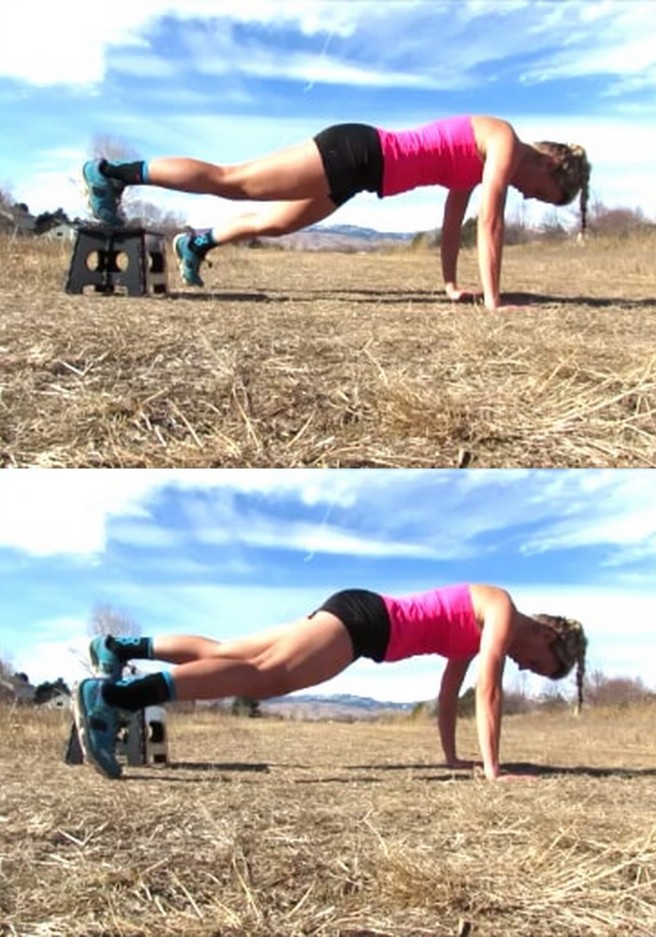
If you feel that don’t have time to drive to the gym, if you have an infant at home, if you work from home or if you like to do core exercises at commercials like my mom THEN this is the workout for you!
In conjunction with my other core videos, add these to your workout for a new and exciting challenge.
Be sure to check out my other videos posted on my blog and YouTube channel by searching “Tarah Cole” and subscribing to my channel!
COMPLETE NOVICE (very little experience with planks, core and\or weight training )
1 set:
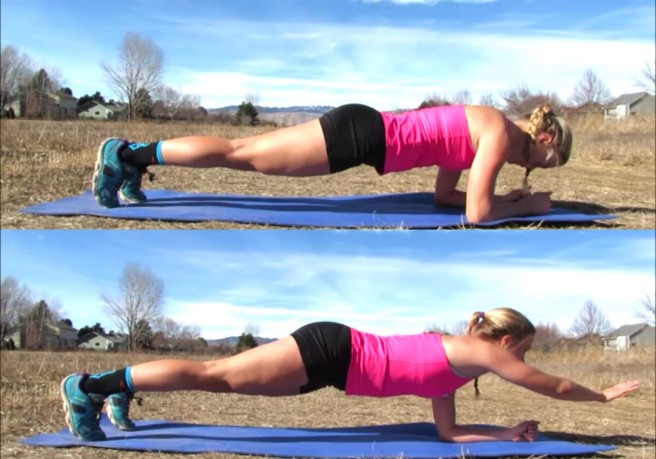
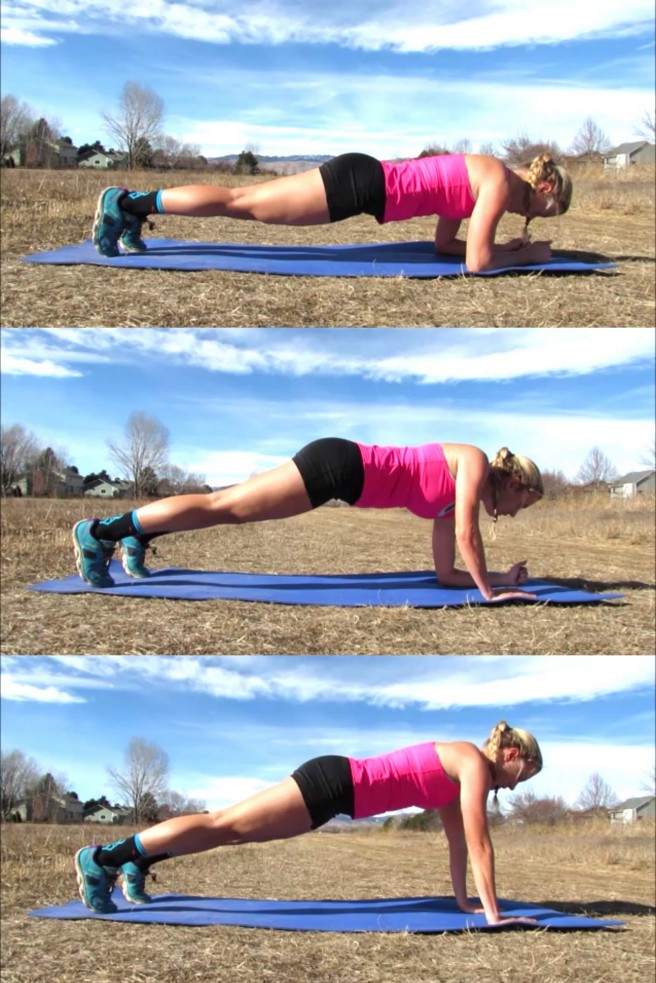
10 reps reach planks (total)
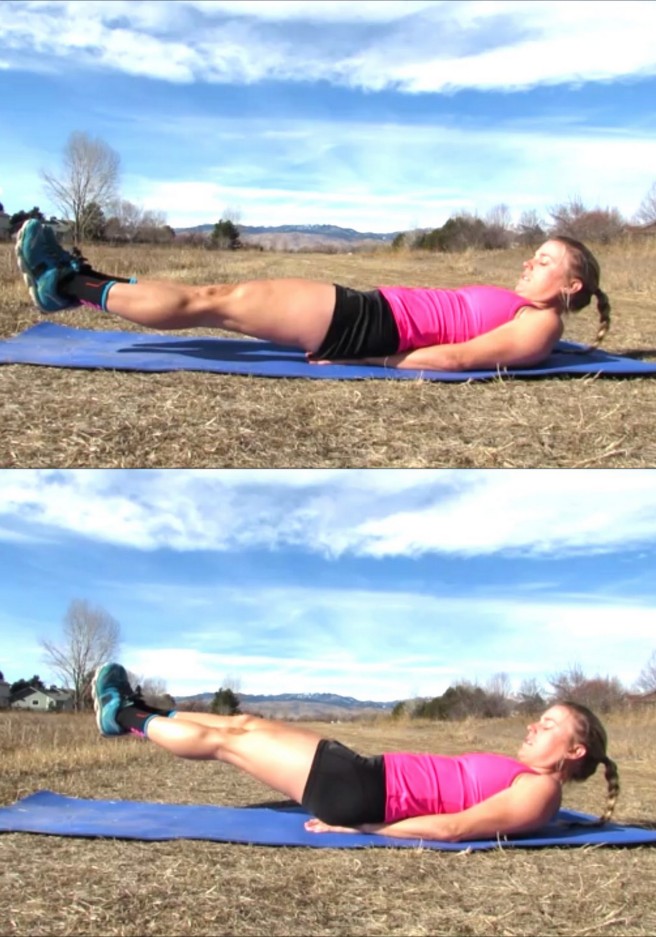
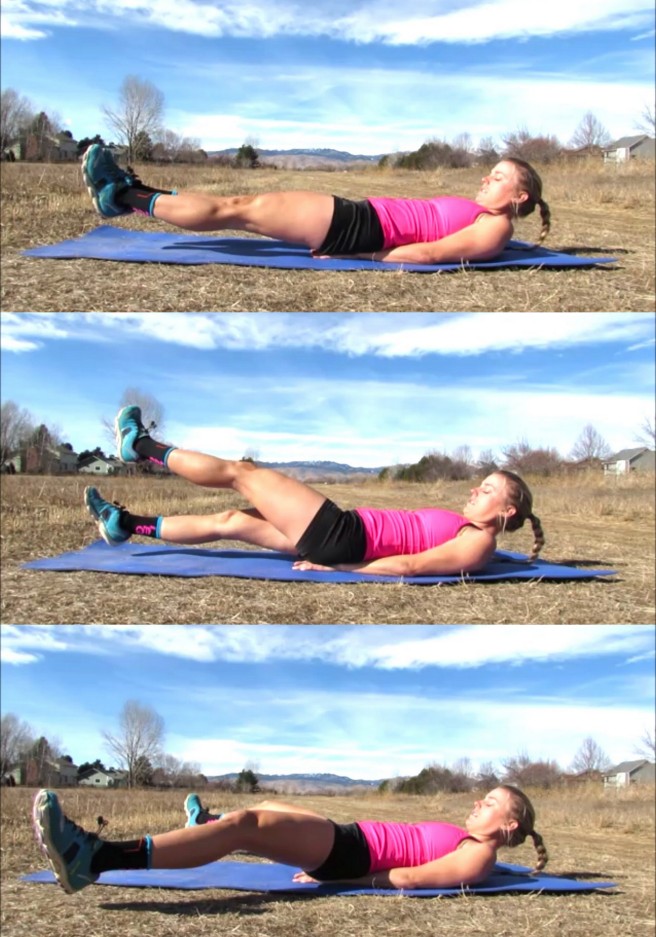
10 reps raised knee ins (total)
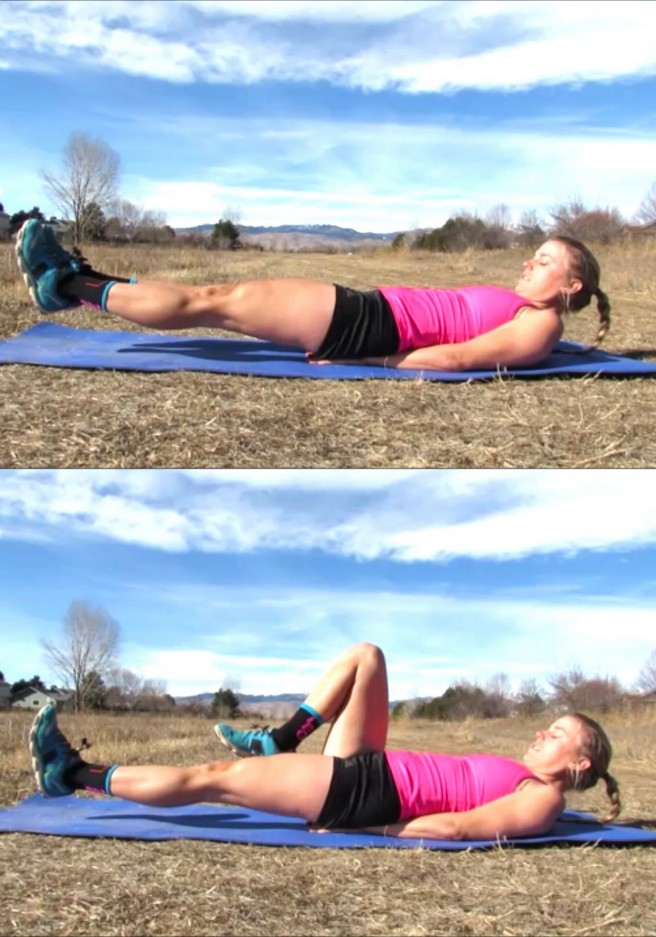
10 reps reverse crunch
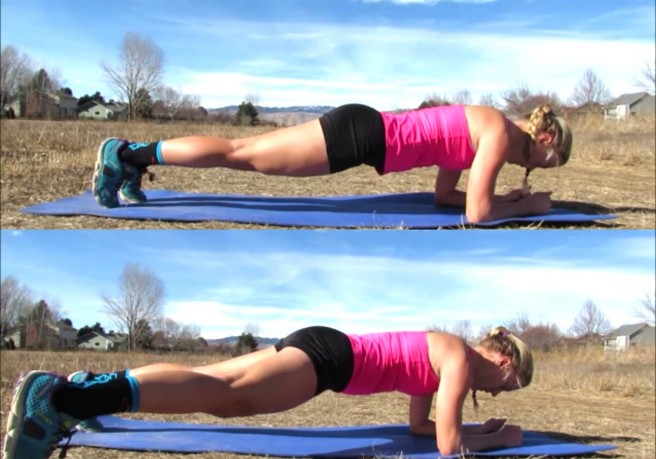
10 reps knee planks (total)
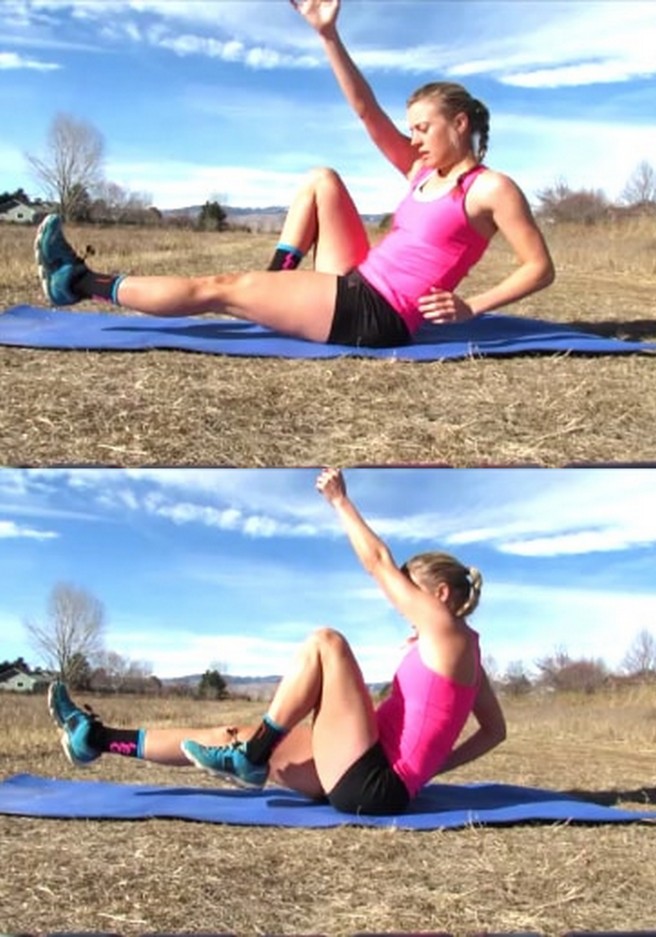
10 reps crisscrosses (total)
10 reps step out planks (total)
10 reps leg raises
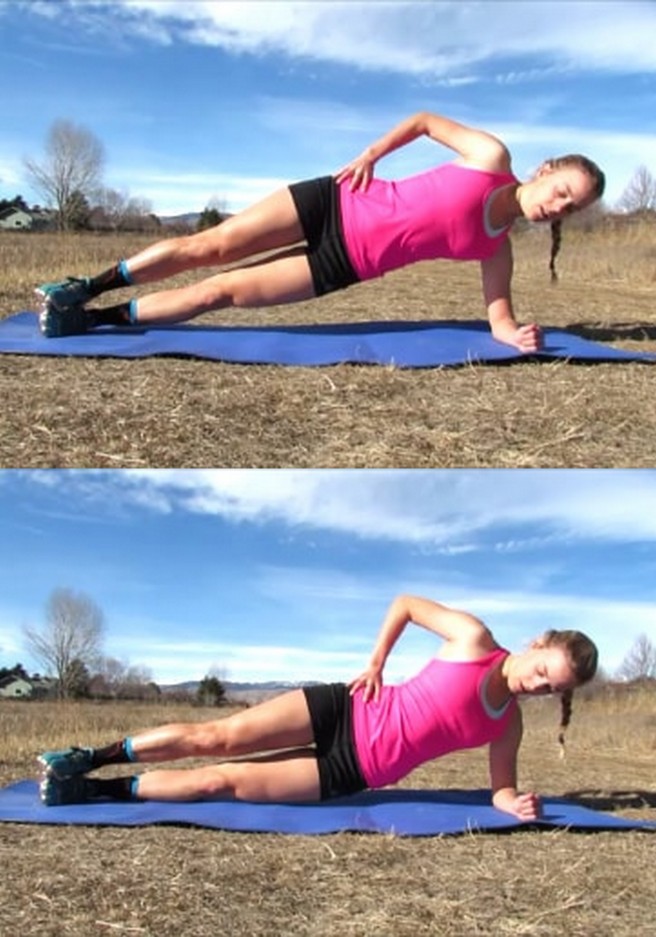
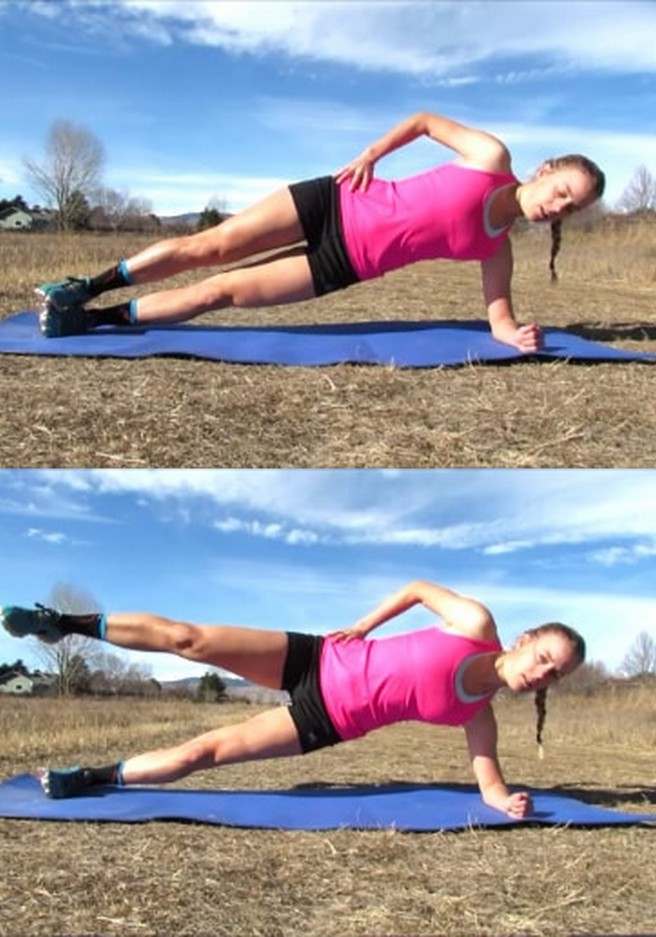
1x 15 sec side plank- each side
** if you can’t do the planks, try to just do a 15 second normal plank until you build the shoulder strength
** start with one set of these. If you can do 3, that’s great. As you progress, try to either add another set or do 12-15 reps
BEGINNER (has some experience with core exercises )
2 sets of these 7 exercises:
15 reps reach planks (total)
15 reps raised knee ins (total)
15 reps reverse crunch
15 reps knee planks (total)
15 reps crisscrosses (total)
15 reps step out planks (total)
15 reps leg raises
After the two sets do,
2x 30 sec side plank- each side ( four total)
** if you can’t do the planks, try to just do a 30 sec normal plank until you build the shoulder strength
** start with two sets of these. If you can do more, that’s great. As you progress, try to either add another set or do 20-30 reps
INTERMEDIATE (good fitness level . Can hold 30 sec plank)
1 set:
20 reps reach planks (total)
20 reps raised knee ins (total)
20 reps reverse crunch
20 reps knee planks (total)
20 reps crisscrosses (total)
20 reps step out planks (total)
20 reps leg raises
Then 1 set:
20 reps knee planks (total)
20 reps leg raises
20 reps reverse crunch
20 reps reach planks (total)
20 reps crisscrosses (total)
20 reps step out planks (total)
20 reps raised knee ins (total)
Try repeating both of these sets!
Then 4x 30 sec side plank- each side
** if you can’t do the planks, try to just do a 30 sec normal plank until you build the shoulder strength
** start with two sets of these. If you can do more, that’s great. As you progress, try to either add another set or do 25-30 reps
ADVANCED ( has a core regimen in place. Already doing planks. Can hold a 1 min plank)
Do 2 sets. All 15 are considered a set. If needed rest after each group of 5.
30 reps reach planks (total)
30 reps raised knee ins (total)
30 reps step out planks (total)
30 reps reverse crunch
30 reps knee planks (total)
————————————–
30 reps knee planks (total)
30 reps leg raises
30 reps reach planks (total)
30 reps crisscrosses (total)
30 reps step out planks (total)
—————————————-
30 reps step out planks (total)
30 reps raised knee ins (total)
30 reps knee planks (total)
30 reps reverse crunch
30 reps reach planks (total)
Lastly after the sets, 4x 45 sec side plank- each side
** if you can’t do the planks, try to just do a 30 sec normal plank until you build the shoulder strength
** start with two sets of these. If you can do more, that’s great. As you progress, try to add another set and take a shorter break
EXPERT ( planking and core exercises on a very regular basis)
Do 3 sets. All 15 are considered a set. No rest until all 15 are complete! Wear ankle weights to make it harder.
30 reps reach planks (total)
30 reps raised knee ins (total)
30 reps step out planks (total)
30 reps reverse crunch
30 reps knee planks (total)
————————————–
30 reps knee planks (total)
30 reps leg raises
30 reps reach planks (total)
30 reps crisscrosses (total)
30 reps step out planks (total)
—————————————-
30 reps step out planks (total)
30 reps raised knee ins (total)
30 reps knee planks (total)
30 reps reverse crunch
30 reps reach planks (total)
Then do 9×1 minute planks ( rotate left side, right side and front)


“What should we have for dinner?”
“I dunno. What’s in the fridge?”
{Insert lengthy list here}
Solution: Put it all in a pan
Just choose what you have\like and mix and match.
Broccoli, carrots, black beans, chick peas, spinach, kale, butternut squash, quinoa, onions, peppers, sweet potatoes, green beans…
Paprika, onion powder, pepper, garlic. (whatever you like!)
Here’s a secret. I love meat. What’s better than a pork chop for breakfast?! But I often eat this medley without meat. If you want pair it with some chicken, venison or BACON, go right ahead.
A splash of olive oil or no oil works just fine. I usually choose a splash of water.
Sriracha, feta cheese, avocado, verde ( in my house it’s always verde) and the list goes on.
This is the most versatile ‘recipe’ ever! You have the liberty to use what vegetables, spices, meat, grains etc. that you like best.
Cooking doesn’t have to be hard! When I finish a 100 mile ride I want to eat the kitchen so that’s what I do. When I’ve had a long day at work and don’t want to cook, I throw some $h!t in a pan.
Note: You might not really be able to put it all in the pan at one time. If you are cooking onions I would cook them first. Broccoli, spinach and kale soften up fast so you’ll want to add them last. If you’re using sweet potatoes or squash, cook that separate in the oven or pan as it takes the longest. And lastly, grains…cook them separate too.
Also note: Use some common sense and don’t mix soy sauce and black beans. Not everything belongs in the same meal 🙂
Perfect for: eating for one, busy parents, athletes, lazy cooks, those wanting to eat better.


